Introduction
In this post, I will go over details of how to install Apache HTTPD webserver, MySQL Server and PHP on an Ubuntu Server. I will also go over the details of setting up SSL and VirtualHost Configuration for Apache.
The LAMP Stack
LAMP stack is a set of technology components used together to create a framework for dynamic web application development.
The letters of LAMP stand for:
- L is for Linux which is the operating system on which the rest of the components run. There are different flavors of Linux with the most common being Debian, Fedora, Redhat and CentOS. All of these support the complete
LAMPstack. - A represents the Apache HTTPD web server. The role of the web server is to accept incoming client requests and process those. It serves static files such as images and documents directly and passes the dynamic content request to the relevant back-end module.
- M historically stood for MySQL which is the data storage engine (aka database) in the stack. Although in the new LAMP stack, some replaced MySQL with MariaDB.
- P stands for PHP, the dynamically parsed programming language on which big websites such as Facebook are built upon.
Let’s start with our install on the Ubuntu version of Linux.
Apache HTTPD Web Server
Apache webserver files and all related information is located on the HTTP Server Project website.
You can download the Apache source code and browse user, admin and developer documentation on the Apache website.
I am not going to use the source and will be using the built in packages provided by Ubuntu.
Before starting to install run update the package manager using the following command.
root@d1:~# sudo apt updateInstall Apache Web Server
Once the update is done using the command below to install the Apache web server.
root@d1:~# sudo apt install apache2Once the above command completes, the default install of Apache web server will be installed.
To validate the installation you can use one of the following two methods.
Validate Install with CURL
Use the following curl command to check if the Apache web server is installed and working.
root@d1:~# curl http://localhost -iThe output should be similar to what is shown below.
HTTP/1.1 200 OK
Date: Mon, 06 Feb 2023 22:15:46 GMT
Server: Apache/2.4.52 (Ubuntu)
Last-Modified: Thu, 07 Apr 2022 02:11:43 GMT
ETag: "1f6-5dc06ffda45c0"
Accept-Ranges: bytes
Content-Length: 502
Vary: Accept-Encoding
Content-Type: text/html

......Note: After line 11 will be the content of the index.html installed with Apache. I have deleted those lines for brevity.
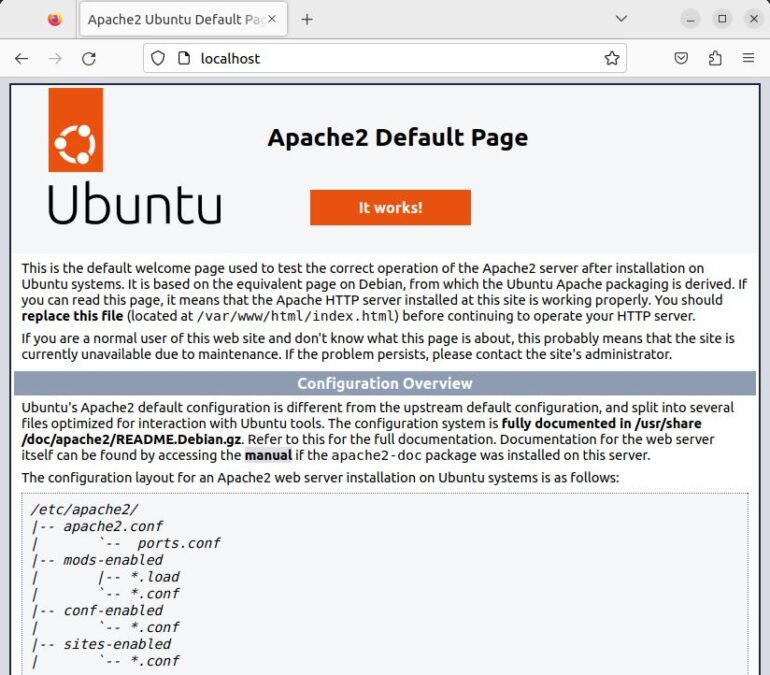
Validate Install with Browser
Open your favorite browser and enter the URL http://localhost. The default webpage will open.
Apache Important Files and Folders
Now that I have gone over the steps of installing the Apache web server and making sure it is working, let’s take a few moments to go over the important files and folders installed.
Apache configuration files are installed in the folder /etc/apache2. During ls shows the following structure.
root@d1:/etc/apache2:~# ls
apache2.conf    conf-enabled  magic           mods-enabled  sites-available
conf-available  envvars       mods-available  ports.conf    sites-enabled
conf-* Folders
The conf-available folder has all files that are available for you to configure Apache behavior. You will find the PHP fpm configuration and security files.
Do note that not all files in this folder are currently being used. The enabled configuration files are linked through the conf-enabled folder.
mods-* Folders
mods-available contains all dynamically loadable modules available for Apache2. Similar to the conf-* folder the active modules are in the mods-enabled folder.
You use the a2enmod and a2dismod commands to enable or disable respective modules. I will be using this command a little later in this tutorial.
sites-* Folders
sites-* folders are used to manage virtual server configurations. Available virtual host (domain a server will be hosting) configuration will be in the sites-available folder and activated (aka live) virtual hosts are in the sites-enabled folder.
To manage virtual hosts you will use the commands a2ensite and a2dissite. In the section on virtual host config I will be using these commands to manage configurations.
Important Files
- apache2.conf: This file has many server level configuration parameters. These allow
- ports.conf: In the ports file you can change the ports the Apache web server is listening on. Default it port 80 for HTTP and 443 for SSL.
HTML Files Folder
Ubuntu installs all web files below the /var/www/ folder, which is the root of all virtual host site folders.
The default localhost files are located in the folder /var/www/html.
When you set up a new virtual host example.com, then you may want to copy the files in the folder /var/www/example and use this path in the virtual host configuration. I will go over this in a later section.
Log Folder
Ubuntu installs the log file in /var/log/apache2 folder. When configuring a new virtual host on Apache you should point all access and error log files to be stored in this folder.
Starting and Stop Apache Web Server
When you install the server using the apt command, the script automatically starts the Apache web server.
But during routine management and configuration changes, you will need to manually start or stop the Apache web server. There are also cases where you don’t need to restart the Apache web server but simply need the configuration changes to be reloaded.
The following commands are available for you to manage the Apache web server.
root@d1:/etc/apache2:~# sudo service apache2 stop
 * Stopping Apache httpd web server apache2                 *
root@d1:/etc/apache2:~# sudo service apache2 start
 * Starting Apache httpd web server apache2                 *
root@d1:/etc/apache2:~# sudo service apache2 restart
 * Restarting Apache httpd web server apache2               [ OK ]
root@d1:/etc/apache2:~# sudo service apache2 reload
 * Reloading Apache httpd web server apache2                *
Install Apache SSL on Ubuntu
The default install of Apache does not enable some useful modules such as rewrite and ssl. Let’s enable both.
root@d1:~# sudo a2enmod ssl rewriteOnce these modules are enabled, your Apache server is ready to serve SSL content. But before you do so, you need to enable the default SSL VirtualHost in Apache. For this run the following command.
root@d1:~# sudo a2ensite default-ssl.confRestart Apache after enabling the mods and the SSL VirtualHost site.
root@d1:~$ sudo service apache2 restartRun the curl command from the shell to ensure everything is running.
root@d1:~# curl -I https://localhost -kThis will show the headers only. If you want to view all headers with data on TLS including the contents of the page being served then use the following.
root@d1:~# curl -v https://localhost -kInstall MySQL on Ubuntu Server
After installing Apache, the next step is to install MySQL. This is a simpler task than installing Apache. Just run the following command.
root@d1:~# sudo apt install mysql-serverOnce MySQL server install completes you can check the version using the command,
root@d1:~# mysql Ver 8.0.32-0ubuntu0.20.04.2 for Linux on x86_64 ((Ubuntu))How to Login to new MySQL Install on Ubuntu
In the latest versions of MySql, there is no built-in account that you can log in using username/password combo. There is however a root account created with auto login enabled for the current user.
To login to MySQL user the following command:
root@d1:~# sudo mysqlCreate MySQL Test Database and New User
Now that I have installed MySQL and have logged in to the MySQL shell, I will create a new user and database for testing with PHP.
Run the following SQL commands.
mysql> CREATE DATABASE fsmtest CHARACTER SET UTF8MB4;
Query OK, 1 row affected (0.01 sec)

mysql> CREATE USER 'fsmuser'@'localhost' IDENTIFIED BY 'nopass';
Query OK, 0 rows affected (0.02 sec)

mysql> GRANT ALL ON fsmtest.* to 'fsmuser'@'localhost';
Query OK, 0 rows affected (0.01 sec)

mysql> FLUSH PRIVILEGES;
Query OK, 0 rows affected (0.00 sec)
Basically, with the SQL commands shown above I first create a database, then a new user and after that I grant the user all privileges or access on the newly created database.
I also issue the flush SQL command, which is optional.
Now I am ready to install PHP to complete the software stack.
Installing PHP on Ubuntu Server
To install PHP run the following command.
root@d1:~# sudo apt install phpThis will install PHP with Apache extension as well as the PHP OpCache extension.
Enabling Additional PHP Extensions
To make sure PHP can talk with MySQL you will need to install the relevant extension.
root@d1:~# sudo apt install php-mysqlOnce the MySQL extension is installed run the following command to ensure that the extension is loaded by PHP.
root@d1:~# php -i | grep mysqlThe output will show in multiple lines configuration settings for MySQL extension.
Although PHP MySQL is installed, Apache will need to be restarted to pickup the new changes to PHP.
root@d1:~# sudo service apache2 restartWith this our basic setup of Apache, MySQL and PHP are complete.
PHP Configuration Files
PHP configuration files are in the folder /etc/php/{version}. Form example if PHP version 8.1 is installed then the path will be /etc/php/8.1. Doing an ls show the following:
root@d1:~# /etc/php/8.1$ ls
apache2  cli  fpm  mods-available
The apache2 folder has the php.ini file when PHP is being used as a module. If PHP is being used in FPM mode then the fpm folder has the relevant php.ini file.
Create a PHP Test File
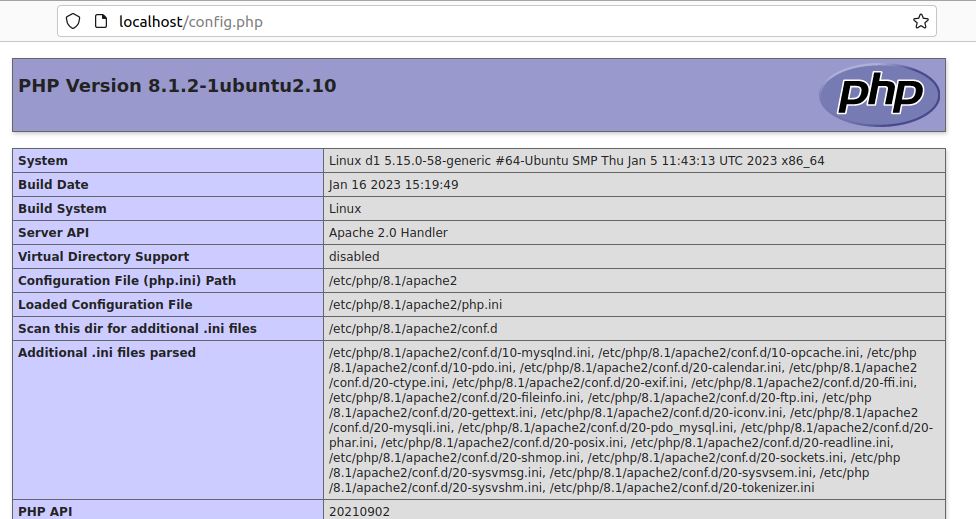
With the changes in place, let’s create a PHP test file to view PHP configuration.
Go to the folder /var/www/html and create a new file config.php and copy the following text and save it.
<?php
phpinfo();
In this file I am using a built-in PHP funtion phpinfo(), which prints PHP configuration as HTML text.
Testing Complete Apache, MySQL & PHP Setup
Now that Apache, MySQL and PHP correctly installed and configured with validation that all needed extensions and modules are installed and configured correctly, I will now create a PHP script to get some data from MySQL.
Add Table and Data to MySQL
Earlier while setting up MySQL I created a database fsmtest for validating integration of my setup.
First I will create a new table.
user@d1:~$ mysql -u fsmuser -p
Enter password:
Welcome to the MySQL monitor.  Commands end with ; or \g.

mysql> use fsmtest;
Database changed
mysql> CREATE TABLE city ( name varchar(255));
Query OK, 0 rows affected (0.01 sec)
With the table in place let’s add a single record.
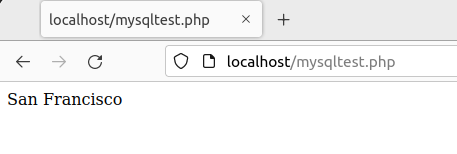
mysql> INSERT INTO city (name) VALUES ('San Francisco');I have added a single record to the database.
Now create a PHP page to get this data from MySQL and display in a browser.
Add a file at /var/www/html/ and name it mysqltest.php. Copy the following content and save the changes.
<?php
// Create connection
$connection = mysqli_connect("localhost","fsmuser","nopass","fsmtest");

// Check connection
if ($connection->connect_error) {
  die("Connection failed: " . $conn->connect_error);
}

$result = mysqli_query($connection,"SELECT * FROM city");
while($row = mysqli_fetch_array($result))
    print_r($row['name']);
mysqli_close($connect);
If everything is configured correctly a web page similar to the one below displays the single city name I entered earlier. will be shown.
Apache Configure and Enable Virtual Host (Bonus)
In this section, I will go over an example of how to create a new Apache VirtualHost configuration in Ubuntu.
First, I need to add a domain to the local hosts file. The path is /etc/hosts.
Add the following line to the end.
127.0.0.1 mydomain.localNow in the folder /etc/apache2/sites-available and create a file mydomain.conf and copy the below contents to it and save all changes.
<VirtualHost *:80>
ServerName mydomain.local
DocumentRoot /var/www/mydomain
<Directory /var/www/mydomain>
Options FollowSymLinks MultiViews
AllowOverride All
Order allow,deny
allow from all
</Directory>
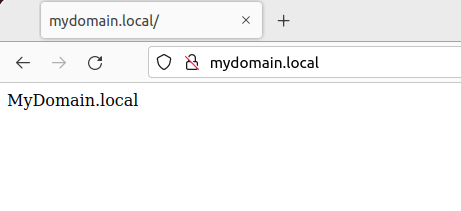
</VirtualHost>Create the website folder for this domain in the path /var/www. I will be naming the folder mydomain. Inside this folder create a file index.html. In this file, I will add only the text “MyDomain.local”.
Once the folder is created I will restart the Apache web server.
You can use the following set of commands to do all of the above changes.
root@d1:~# sudo mkdir /var/www/mydomain
root@d1:~# sudo echo MyDomain.local > /var/www/mydomain/index.html
root@d1:~# sudo service apache2 reload
Open the browser and enter the URL HTTP://mydomain.local and view the index.html page contents.
Conclusion
This completes the setup of Apache, MySQL and PHP on the Ubuntu platform. In addition, I went over details of how you can setup a virtual host on Apache.
This is only a start and there is a lot more you can do. I have many tutorial posts on my Apache page. Check those out.
FAQ
I am seeing ubuntu apache error:0A00010B:SSL routines::wrong version number
This error is seen when you try to reach a VirtualHost domain that is not made available to Apache. To correct this error you need to create a VirtualHost conf file and make it available to Apache. After that either reload Apache server config or restart the Apache web server. The following commands show how this can be done.
root@d1:~# sudo a2ensite mydomain.conf
root@d1:~# sudo service apache2 reload